We can't believe not only is it the end of the year it's the end of the decade! We've got lots of exciting plans for 'i do' it yourself coming soon so keep watching this space. A huge thank you to everyone who contributed and commented, we've loved putting this blog together and hope you have enjoyed reading it. Have a fabulous new year everyone!!
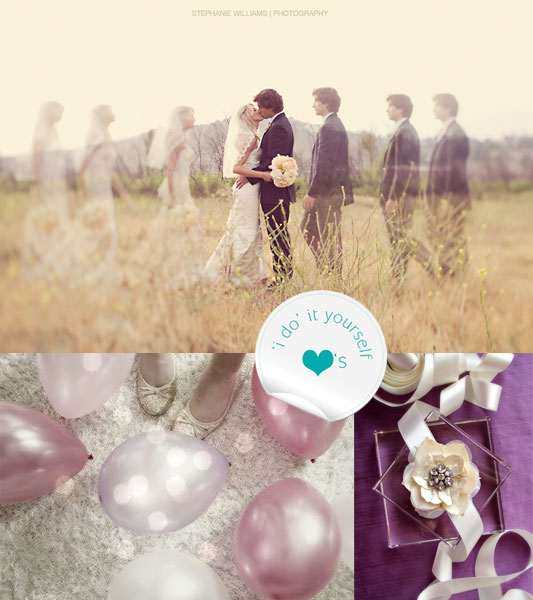
This month we heart: this amazing photograph by Stephanie Williams just took our breath away. Get ready to party, photo via We Heart It. The beauty of Emici Bridal's work never ceases to amaze us - gorgeous bridal sash inspired by a lotus flowers.
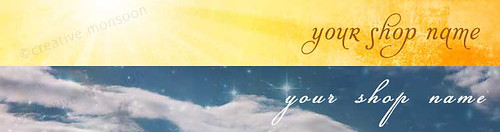
Yay, it's nearly the start of a new year and we've got lots of exciting projects planned for 2010. But here is a sneak peek at our latest offerings: banner design!
We've been busy this past year with lots of little design jobs and I thought why not make it a regular feature? So to start with creative monsoon will now be offering banner design perfect for blogs or etsy shops - and they come with a free avatar. Each week we'll upload a new one off designs to our etsy shop and custom work is always welcome.
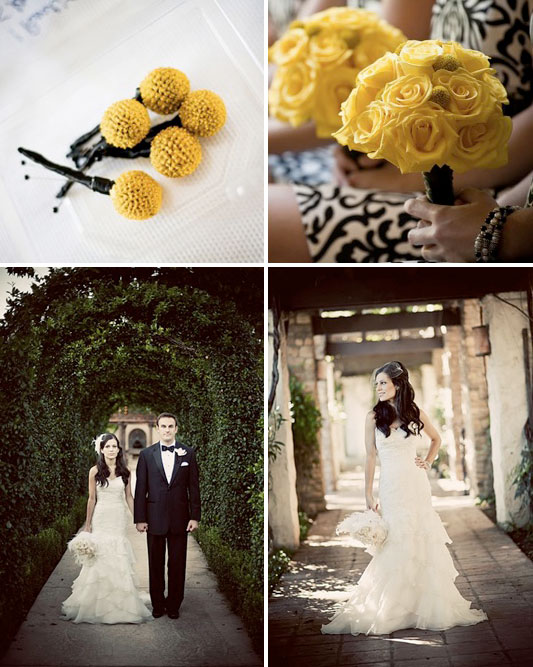
Stunning yellow, feathered details and striking black damask print all came together for Kelly and Scotts gorgeous wedding. If you were still in need of a bit more convincing for this bold colour combination, then look no further. Beautifully photographed by Sean Loring Schofield the bride wore a fabulous dress of frills and feathered fascinator, with feathers in her bouquet even. While the bridesmaids looked amazing in simple black and white damask print dresses with bouquets of bright yellow roses.
Magpies love shiny objects, so we thought that made them the perfect choice to decorate a cute new invitation design. Great for engagment parties or weddings, with a beautiful illustration of a cheeky magpie holding a wedding ring in his beak. Cute! The pretty hessian background is even part of the file, no special paper required. Available in our online store along with matching products such as rsvps and place cards.
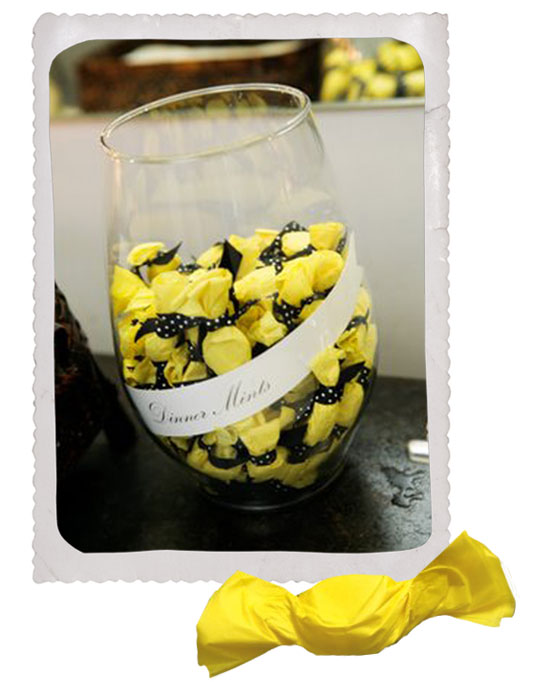
Here is a clever and inexpensive way to co-ordinate some after dinner mints or sweats into your wedding colour scheme. The hip hostess simply covered these mints in bright yellow tissue paper and finished them off with some pretty black and white polka dot ribbon. Easy!
In recent months I've become a bit of a fan of the petal envelope, even using it for my own wedding invitations. It's a fantastic way to add that extra wow factor to your invites, and, it's really simple.
DIY project:
Start by selecting the size of your inserts, these will be square. Lets say you choose 145mm square. This could be a single folded card or a few loose inserts.
On a piece of thick card we are going to draw up a template. Start by drawing a square slightly bigger than your invitation, in this case 150mm. On each side of the square draw a semi circle with the same diameter. See photo 1.
Cut out your template and use this to draw up guides for cutting out your petal envelopes. You can use plane coloured card paper or something with a pretty design. Depending on the thickness of the paper you might even be able to save a bit of time and cut out a few at once.
Place your invitation in the center and the fold over each flap placing them under one under another. See photo 2 and 3.
Finish off by wrapping string, ribbon or lace around the envelope. See photo 4.