
A little habit my husband and I got into every time we travelled was to take a photo of ourselves in the same pose but with a different landmark or famous landscape in the background. So when it came time to plan our wedding, I knew we had to use the images somehow.
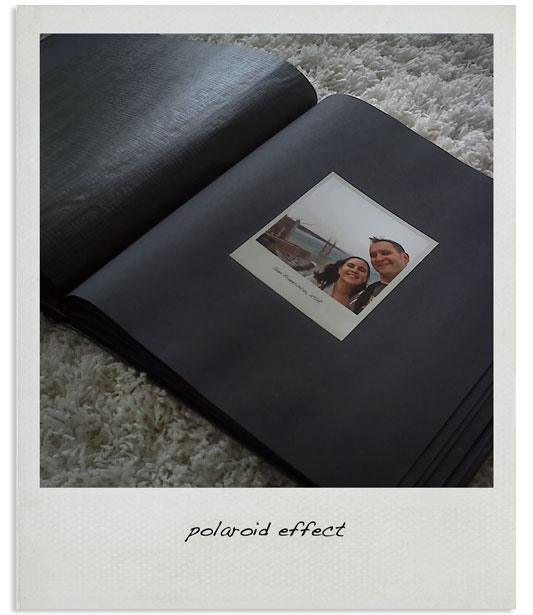
I decided to use them to create our guest book - just a simple black paged photo album with a picture stuck to each page. I can use the space around each picture to stick ticket stubs and brochures from our travels, and at the end of the album I left a space to put a photo taken on our wedding day in the same style. Guests signed around the space left or on pages next to photos from trips we had gone on together. It was a great talking point on the day and I particularly loved one comment left by a gust on the very last page "This is not the last page, but the first of a new chapter."
For the photos I decided to print them in a Polaroid style, as they have that snapshot feel to them. Polaroid cameras are relatively cheap to buy online, but as we found out, the film can be terribly expensive working out at almost a $1 a shot! So here is a quick and easy way to create your own Polaroid effect in photoshop:
DIY project:
Step 1. Open a new document in photoshop. 4inches wide x 6 inches high and 300 pixels/inch.
Step 2. Using the paint bucket fill the background with a slightly off white colour, something like R 229, G 229 and B 229
Step 3. Double click on this background layer to make it Layer 0.
Step 4. Select the rectangular marquee tool. Holding down the shift key, draw a square about 5mm in from the edge and delete the selection.
Step 5. Now open up the image you want to use in photoshop and drag this onto our working file.
Step 6: Move your image to the bottom layer. You can now move it about and position it to
how it looks best.
Step 7: You can use the text tool to add a caption to your photo.
Flatten your image to finish and you can have it printed as a standard 6x4" print. You'll notice its too tall for a Polaroid at the moment, but once the image has been printed simply chop about 3cm off the bottom.


3 Comentarios
Very cute couple
ReplyDeleteOoh what a great idea! I would love to link to this if you didn't mind.
ReplyDeleteSure, no problem :)
ReplyDelete